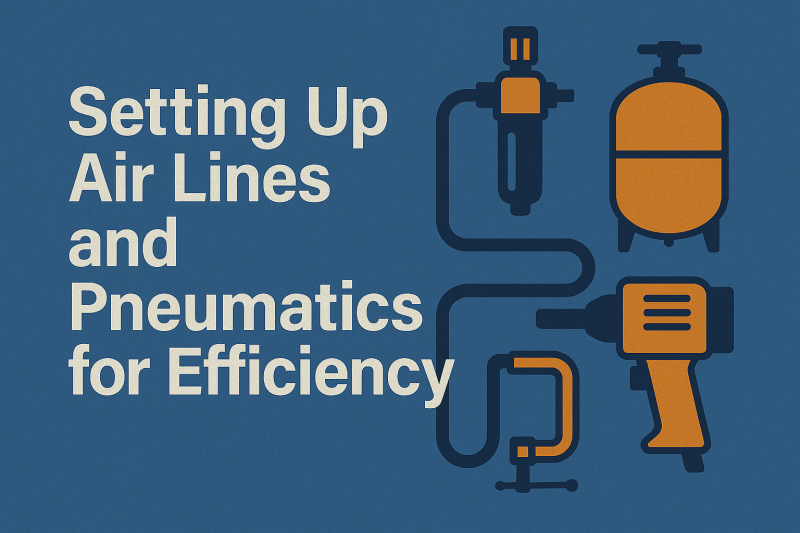
Boost your shop’s performance by setting up air lines and pneumatic systems that improve speed, precision, and productivity.
by Brent Mathurin
Install a Compressed Air System That Works With You
Air tools are the unsung heroes of metalwork. From grinders to plasma cutters to automated clamps — they all depend on one thing: a well-designed compressed air system.
Get it wrong, and you’ll fight with pressure drops, water in your lines, and failing tools. Get it right, and you’ll fly through work with clean, consistent power.
This guide will help you design a system that works — not one that wears you out.
🛠️ Why Air Systems Matter in Fabrication
Compressed air powers:
-
Grinders
-
Air chisels
-
Plasma torches
-
Pneumatic clamps and positioners
A shop without a proper air setup is constantly stopping to reset. A shop with one? It flows.
🧰 Step-by-Step: Building Your Air System
1. 🔍 Choose the Right Air Compressor
Start by sizing your air compressor to your tool demand.
✅ Look at:
-
Total CFM usage at 90 PSI
-
Duty cycle (% of time it runs)
-
Tank size for surge capacity
Pro tip: Use a 3-phase compressor for better longevity and smoother operation.
2. 🏗️ Plan Your Pipe Layout
Use rigid piping (like aluminum or copper) instead of rubber hoses for your main lines.
✅ Benefits:
-
Less pressure drop
-
Cleaner, moisture-free air
-
Permanent, tidy installation
Use a loop design or “closed circuit” to balance pressure throughout the shop.
3. 🌀 Slope Your Pipes for Drainage
Always slope your air lines 1/8” per foot away from outlets and toward moisture drains.
This keeps water from blowing out when you pull the trigger.
4. 💧 Install Water Separators and Filters
Place a moisture trap right after the compressor, and again before each tool drop.
Install:
-
Regulators for pressure control
-
Oilers for air tools (if needed)
-
Drain valves at low points
Dry air = longer tool life.
5. 🔌 Use Retractable Hose Reels and Quick Disconnects
Don’t clutter the floor with coiled air hoses. Install wall- or ceiling-mounted reels with quick-connect couplings at workstations.
It’s safer, cleaner, and faster.
🧠 Final Thoughts: Your Air System Is a Backbone
An efficient air system makes the difference between pausing and producing. It improves:
-
Tool response
-
Operator comfort
-
Shop longevity
Build it once, build it right — and your entire workflow will thank you.
🔗Next Steps to Build Smarter:
📣Want to share this post with your followers? copy this caption and paste it to your favorite platform:
Building a smarter shop starts with smart planning" Heres how we did it step by step.
#FabricationShop #PneumaticTools #AirCompressorSetup #CompressedAirSystem #WeldingShop #MetalFabrication #WeldingLife #ShopEfficiency
Add comment
Comments