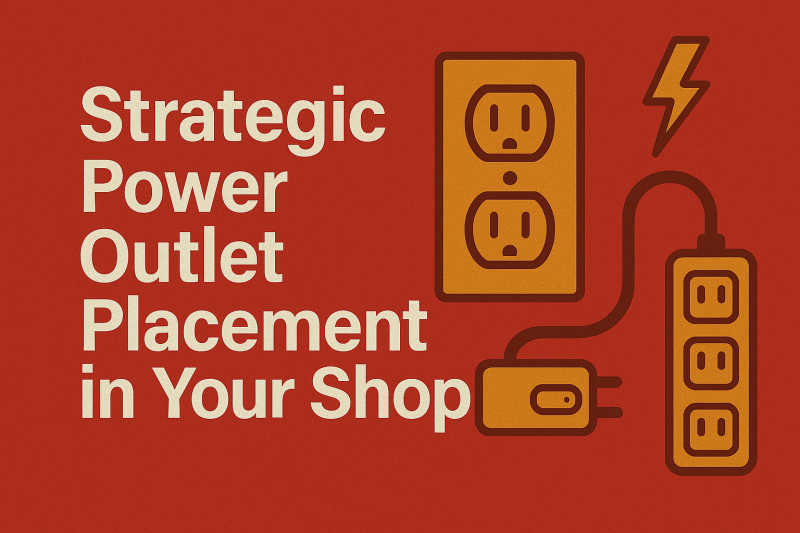
Power up your workflow with smart outlet placement — reduce clutter, prevent overloads, and keep your tools running efficiently where you need them most.
by Brent Mathurin
Plan Around Workflow, Load, and Long-Term Growth
Wiring your shop with 3-phase power is just the beginning. Now comes the part that makes or breaks your efficiency — where you place your outlets.
Every machine, tool, and welder you bring in depends on power. If the outlets are in the wrong place, you'll spend more time running extension cords and tripping over cables than fabricating.
This post will show you how to design your power layout like a pro — one that’s built for flow, flexibility, and future upgrades.
🧭 Why Outlet Placement Matters
Think of your shop like a production line. If your tools are powered from random corners or shared outlets:
-
You’ll waste time moving parts around
-
Trip breakers during high-load tasks
-
Introduce safety risks with tangled wires
A good power layout:
✅ Keeps cables off the floor
✅ Matches your workflow
✅ Supports expansion
🛠 Step-by-Step Guide to Outlet Layout
1. 🧾 Map Out Your Workflow First
Before you install a single outlet, ask:
-
Where does raw material enter the shop?
-
Where does cutting happen?
-
Where do you assemble and weld?
-
Where do you grind or finish?
💡 Layout Tip: Place outlets where the work happens — not where the wall happens to be.
2. ⚡ Identify Equipment Power Needs
Some machines need 120V, others 240V or 208V 3-phase. Group outlets by:
-
Voltage type
-
Amperage rating
-
Dedicated vs shared load
✅ Label them visibly, especially for mobile equipment.
3. 🚧 Space Out High-Load Circuits
Avoid plugging multiple high-draw machines into the same outlet cluster. For example:
-
Plasma table: dedicated 240V circuit
-
Ironworker: isolated breaker
-
MIG/TIG stations: separate zones
Rule of thumb: 1 high-load tool = 1 circuit.
4. 🪜 Install Ceiling Drops and Wall Mounts
For larger shops, overhead power drops are a game changer. These:
-
Keep cables out of walkways
-
Reach the center of the shop
-
Make it easy to reposition tools
Combine with wall-mounted outlets at workbench height for grinders, vices, and small tools.
5. 📈 Future-Proof Your Expansion
Even if you’re starting small, leave room in the panel for:
-
New machines
-
A second welding bay
-
Future automation or robots
💡 Tip: Add extra conduit now — running it later is expensive and messy.
🧠 Final Thoughts: Power Should Flow with You
When your power outlets follow your workflow, your work gets faster, smoother, and safer.
Don’t just install outlets based on walls — build your shop around movement. Let power flow with your process, not against it.
🔗Next Steps to Build Smarter:
📣Want to share this post with your followers? copy this caption and paste it to your favorite platform:
Building a smarter shop starts with smart planning" Heres how we did it step by step.
#WeldingWorkshop #ShopSetup #PowerOutletPlacement #MetalFabrication #WelderTips #EfficientShopLayout #ElectricalSetup #FabricationFlow
Add comment
Comments