Streamline production, reduce bottlenecks, and maximize floor efficiency with a smart fabrication shop layout and optimized workflow system.
Design Your Shop to Move Metal, Not Waste Time
The best welders in the world still lose money in a badly organized shop.
Whether you're in a small bay or a 17,000 sq. ft. space, layout and workflow are everything. The goal is simple: reduce time spent walking, waiting, or shifting materials — and increase time spent producing.
This guide will show you how to design a smart shop layout that boosts output, safety, and sanity.
by Brent Mathurin
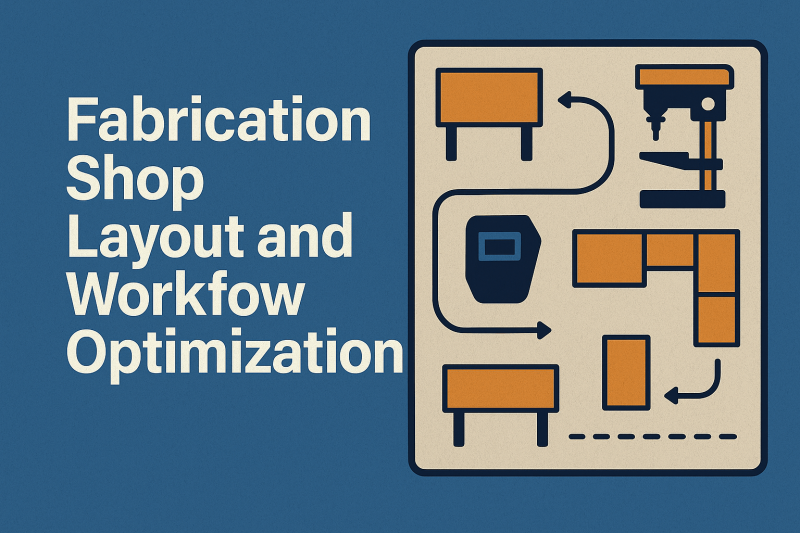
🧩 1. Start with a Workflow Map
Your shop isn’t just a room — it’s a production line. Before placing anything, sketch out the step-by-step process from raw material to finished product:
-
Material delivery
-
Stock storage
-
Cutting & prep
-
Fit-up and welding
-
Grinding or cleaning
-
Final inspection & delivery staging
💡 Tip: Use arrows to trace movement. Eliminate backtracking.
🏗️ 2. Position Stations Around Material Flow
Avoid zig-zagging your work. Place equipment in sequence with your workflow:
-
Cutting station near steel racks
-
Welding bays close to fit-up tables
-
Assembly near final inspection
✅ Bonus: Use carts or rollers to move material between stations faster.
⚡ 3. Plan for Power, Air, and Ventilation Access
Lay out your machines where utilities already exist — or plan for cost-effective installation of:
-
Power drops (120V, 240V, 3-phase)
-
Overhead air lines
-
Fume extraction systems
🎯 Goal: Every station should be “plug-and-play” — no tangled cords or hoses.
🧱 4. Allow Space for Growth and Safety
Leave enough room for:
-
Walking paths (at least 3 ft wide)
-
Equipment swing zones
-
Future machine upgrades or expansions
Also consider:
-
Fire extinguisher placement
-
First aid stations
-
Emergency exit visibility
🪛 5. Use Mobile Workstations Where Possible
Welding carts, grinding tables, and assembly benches on wheels help:
-
Reconfigure your layout as needed
-
Bring the work to the welder (not vice versa)
-
Create flexibility for high-volume or odd jobs
This adaptability becomes a huge asset over time.
🧠 Final Thoughts: Layout = Productivity Multiplier
A good layout:
-
Minimizes motion
-
Supports your tools
-
Builds rhythm into your day
It’s not just about space. It’s about how efficiently that space moves metal.
🔗Next Steps to Build Smarter:
📣Want to share this post with your followers? copy this caption and paste it to your favorite platform:
Building a smarter shop starts with smart planning" Heres how we did it step by step.
#ShopLayout #FabricationWorkflow #WeldingEfficiency #MetalFabrication #WeldingShopDesign #SmartShop #ProductivityTips #WorkshopOptimization
Add comment
Comments